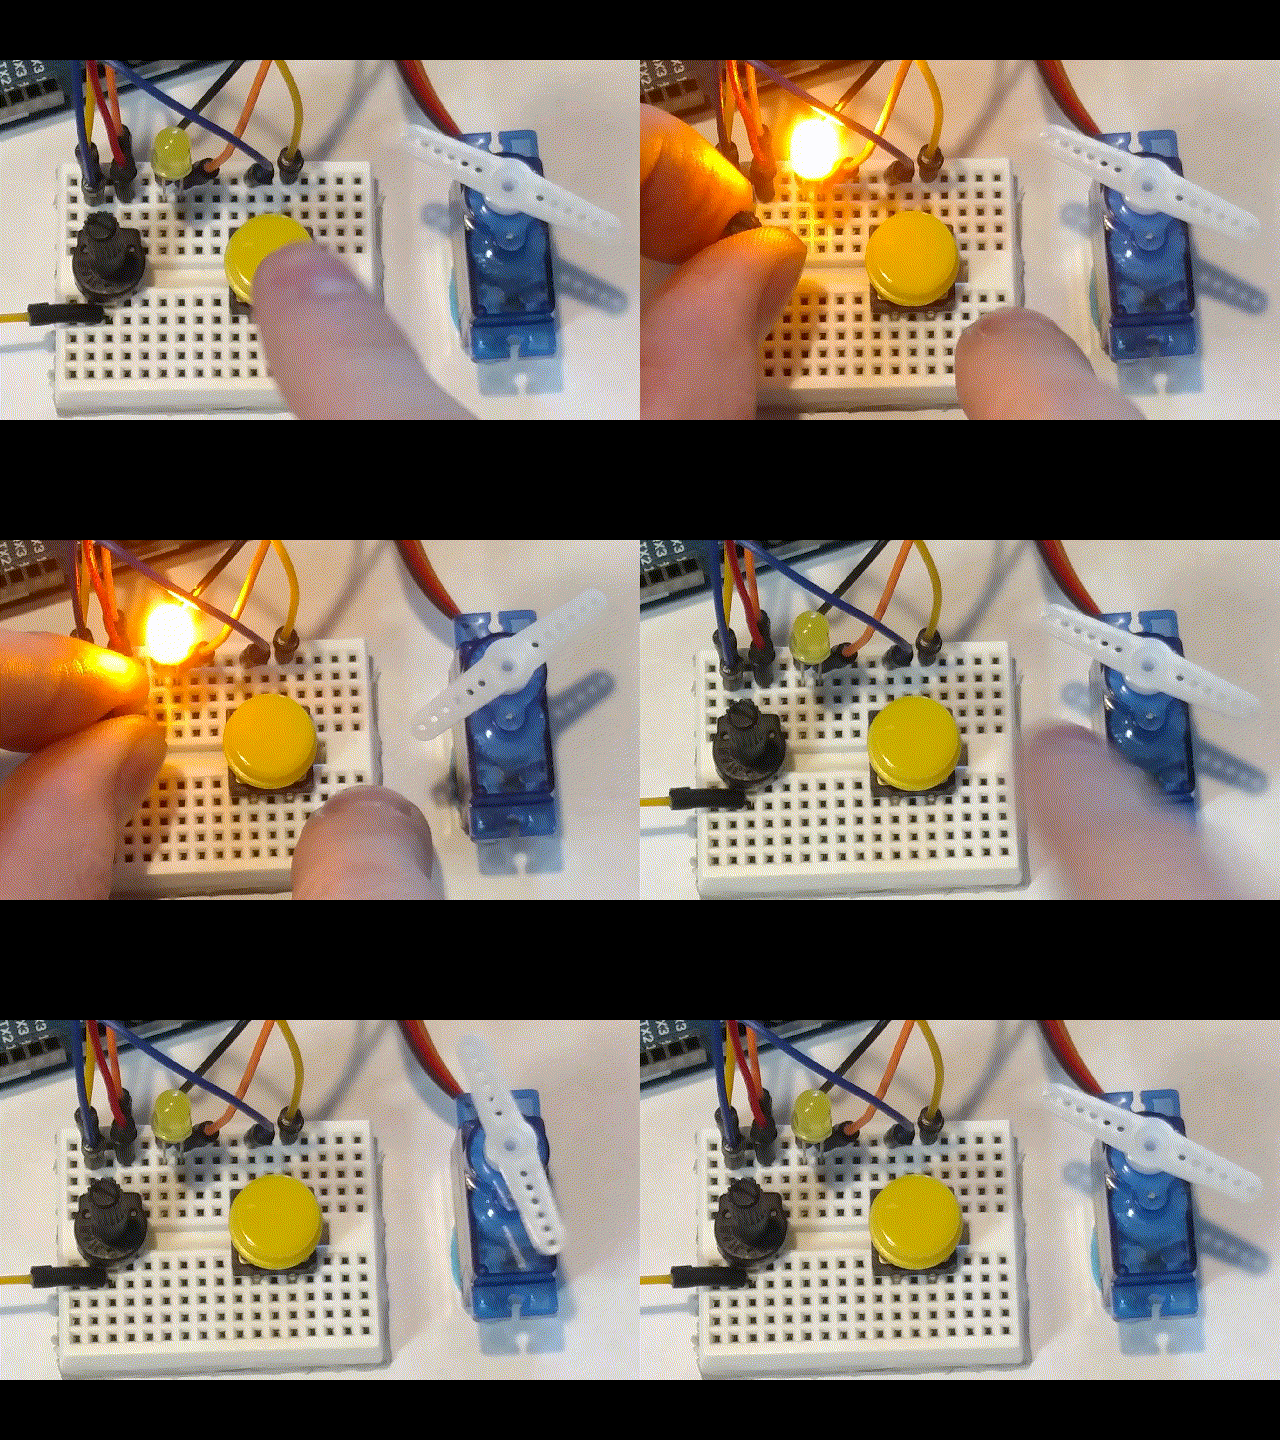
Arduino Paper Controller (Buttons, Slider)
This project allows you to draw your own controller to be used with anything. It utilizes capacitive sensing and the conductive properties of graphite to send data to an Arduino board.
Materials:
- Alligator clips: https://amzn.to/2qYmKEB
- Arduino: https://amzn.to/2DLjxR2
- Breadboard: https://amzn.to/2RYqiSK
- Jumper wires: https://amzn.to/2Q7kiKc
- 10M Ohm Resistors (x3): https://amzn.to/2DMx3Ux
- Pencil
- Paper
- Servo Motor: https://amzn.to/2S6E5GZ
- LED (x2): https://amzn.to/2S5PFlM
- resistors for LEDs (Usually 220 Ohm) (x2): https://amzn.to/2DMx3Ux
Step 1: Draw Controller
You are literally drawing your controller on a piece of paper:- Be sure to use pencil (graphite is conductive)
- Make a few buttons and maybe a slider or two.
- Be sure to draw a line leading to the edge of the paper to give room to the alligator clips
Step 2: Make Circuit
I forgot to include the two led resistors (just pretend they're between ground and the anode on both). The three black boxes on the right are meant to be the alligator clips leading to the paper. (The top is the slider and the other two are buttons)
Step 3: Install Library
The code for this project requires a library designed to use capacitive sensing. Download it here: https://playground.arduino.cc/Main/CapacitiveSensor?from=Main.CapSense
According to the Arduino page for this library, "The capacitiveSensor library turns two or more Arduino pins into a capacitive sensor, which can sense the electrical capacitance of the human body. All the sensor setup requires is a medium to high value resistor and a piece of wire and a small (to large) piece of aluminum foil on the end. At its most sensitive, the sensor will start to sense a hand or body inches away from the sensor."
According to the Arduino page for this library, "The capacitiveSensor library turns two or more Arduino pins into a capacitive sensor, which can sense the electrical capacitance of the human body. All the sensor setup requires is a medium to high value resistor and a piece of wire and a small (to large) piece of aluminum foil on the end. At its most sensitive, the sensor will start to sense a hand or body inches away from the sensor."
Step 4: Upload Code
#include <Servo.h>
#include <CapacitiveSensor.h>

Servo myservo;

CapacitiveSensor   button1 = CapacitiveSensor(4, 2);
CapacitiveSensor   button2 = CapacitiveSensor(4, 3);
CapacitiveSensor   slider = CapacitiveSensor(4, 5);

int total1val = 1000;//you'll need to edit these
int total2val = 1000;
int total3val1 = 100;
int total3val2 = 1000;


void setup() {
  //button1.set_CS_AutocaL_Millis(0xFFFFFFFF);
  Serial.begin(9600);
  pinMode(10, OUTPUT);
  pinMode(13, OUTPUT);
  myservo.attach(6);
}

void loop() {
  long start = millis();
  long total1 =  button1.capacitiveSensor(1000);
  long total2 =  button2.capacitiveSensor(1000);
  long total = 0;
  long total3 = 0;

  for (int i = 1; i <= 10; i++) {//averages the value for the slide to make the servo smoother
    total3 =  slider.capacitiveSensor(10000);
    total = total + total3;
    delay(1);
  }

  long avg = total / 10;
  int angle;

  Serial.print(millis() - start);
  Serial.print("\t");

  Serial.print(avg);
  Serial.print("\t");
  Serial.print(total2);
  Serial.print("\t");
  Serial.println(total3);

  if (total1 > total1val) {
    digitalWrite(13, HIGH);
  }
  else {
    digitalWrite(13, LOW);
  }

  if (total2 > total2val) {
    digitalWrite(10, HIGH);
  }
  else {
    digitalWrite(10, LOW);
  }

  angle = map(avg, total3val1, total3val2, 180, 0);
  myservo.write(angle);

  delay(10);
}
You will likely need to adjust the values at the top by the "//you'll need to edit these" comment:
- Open the serial monitor to watch the values come in
- Look at the value both "low" and "high" (when you are and aren't touching the button)
- Adjust the values in the code until everything works properly (the LEDs should turn on when you press the buttons and the servo should turn accordingly)


