Posts

Simple Record and Playback

Image
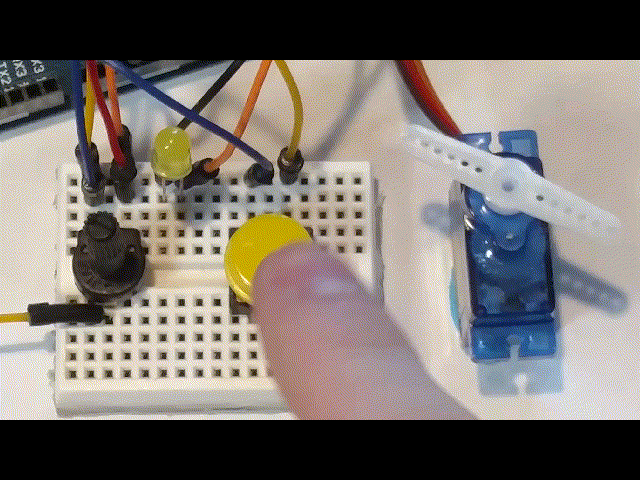
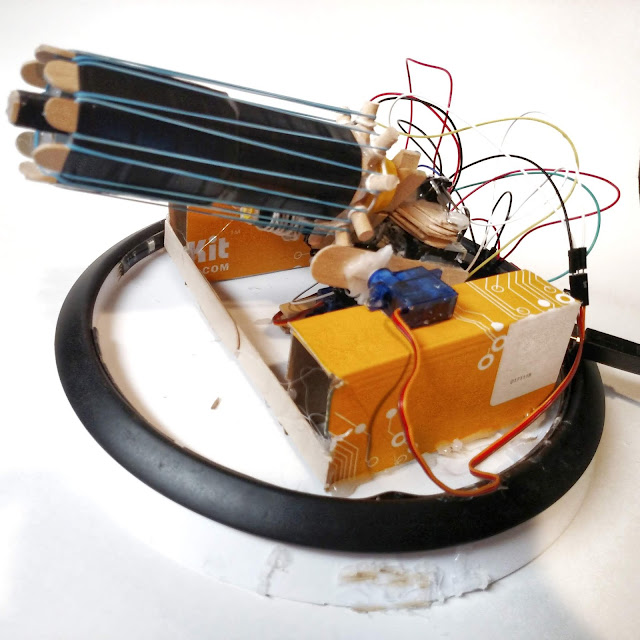
This project allows you to "record" sensory input and store it for later use. The information is stored in EEPROM instead of dynamic memory so that it can be remembered even when the board is shut down (like a tiny hard drive). Materials: Arduino - https://amzn.to/2DLjxR2 Breadboard - https://amzn.to/2RYqiSK Jumper wires - https://amzn.to/2Q7kiKc Button - https://amzn.to/2QUGfN0 LED - https://amzn.to/2S5PFlM Resistor (for LED) - https://amzn.to/2S2sV5R 10k Potentiometer - https://amzn.to/2EBuEwq Servo Motor - https://amzn.to/2S6E5GZ Step 1: Make the Circuit Make the circuit according to the diagram above: Potentiometer to pin A0 Button to pin D2 Servo to pin D3 Led to pin D13 Step 2: Upload Code # include # include //used to store recorded values Servo myServo; float resolution = 1000 ; //MUST be less than EEPROM.length() (check serial monitor) float recordTime = 5 ; //delay time bool recording = false; void set

Mini Acoustic Levitation

Image
Acoustic levitation is made possible through the fact that sound behaves as a wave.  When two sound waves intersect each other, they can either constructively or destructively interfere with each other.  (This is how noise-canceling headphones work) This project uses an ultrasonic distance sensor to create a levitation effect.  This works by creating "pockets" where two opposing sound waves interfere with each other.  When an object is placed in the pocket it will stay there, seemingly hovering in place. Materials needed: Arduino board:  https://amzn.to/2DLjxR2 H-bridge:  https://amzn.to/2DXFw7y Distance sensor:  https://amzn.to/2PSbJU2 Breadboard:  https://amzn.to/2RYqiSK Jumper wires:  https://amzn.to/2Q7kiKc Diode:  https://amzn.to/2KlYMf8 Capacitors (Maybe):  https://amzn.to/2DYnCla Original project  from Make Magazine by  Ulrich Schmerold. Step 1: Get Ultrasonic Transmitters You will need to sacrifice a distance sensor for this step

Rubber Band Gatling Gun Turret (Arduino)

Image
T his is an Arduino controlled rubber band Gatling  gun.  It can hold about 20 rubber bands and it is operated with a USB game controller through processing.  The complete bill of materials can be seen below: Arduino UNO https://amzn.to/2DLjxR2 Jumper cables https://amzn.to/2Q7kiKc Breadboard https://amzn.to/2RYqiSK Servo motors https://amzn.to/2S6E5GZ Gear motor https://amzn.to/2DQUr3u Rubber bands https://amzn.to/2S8zgwR Electrical tape https://amzn.to/2BpvF8a Lego pieces https://amzn.to/2DROMtU Craft sticks (big) https://amzn.to/2zldtuH Craft sticks (small) https://amzn.to/2zldG0X Hot glue sticks https://amzn.to/2TCRND4 Binder clips https://amzn.to/2KnZWa3 Clothespins https://amzn.to/2BpOw2K Cardboard https://amzn.to/2BpOSGC Lazy susan https://amzn.to/2OVr4xH Diode https://amzn.to/2DPaVcn