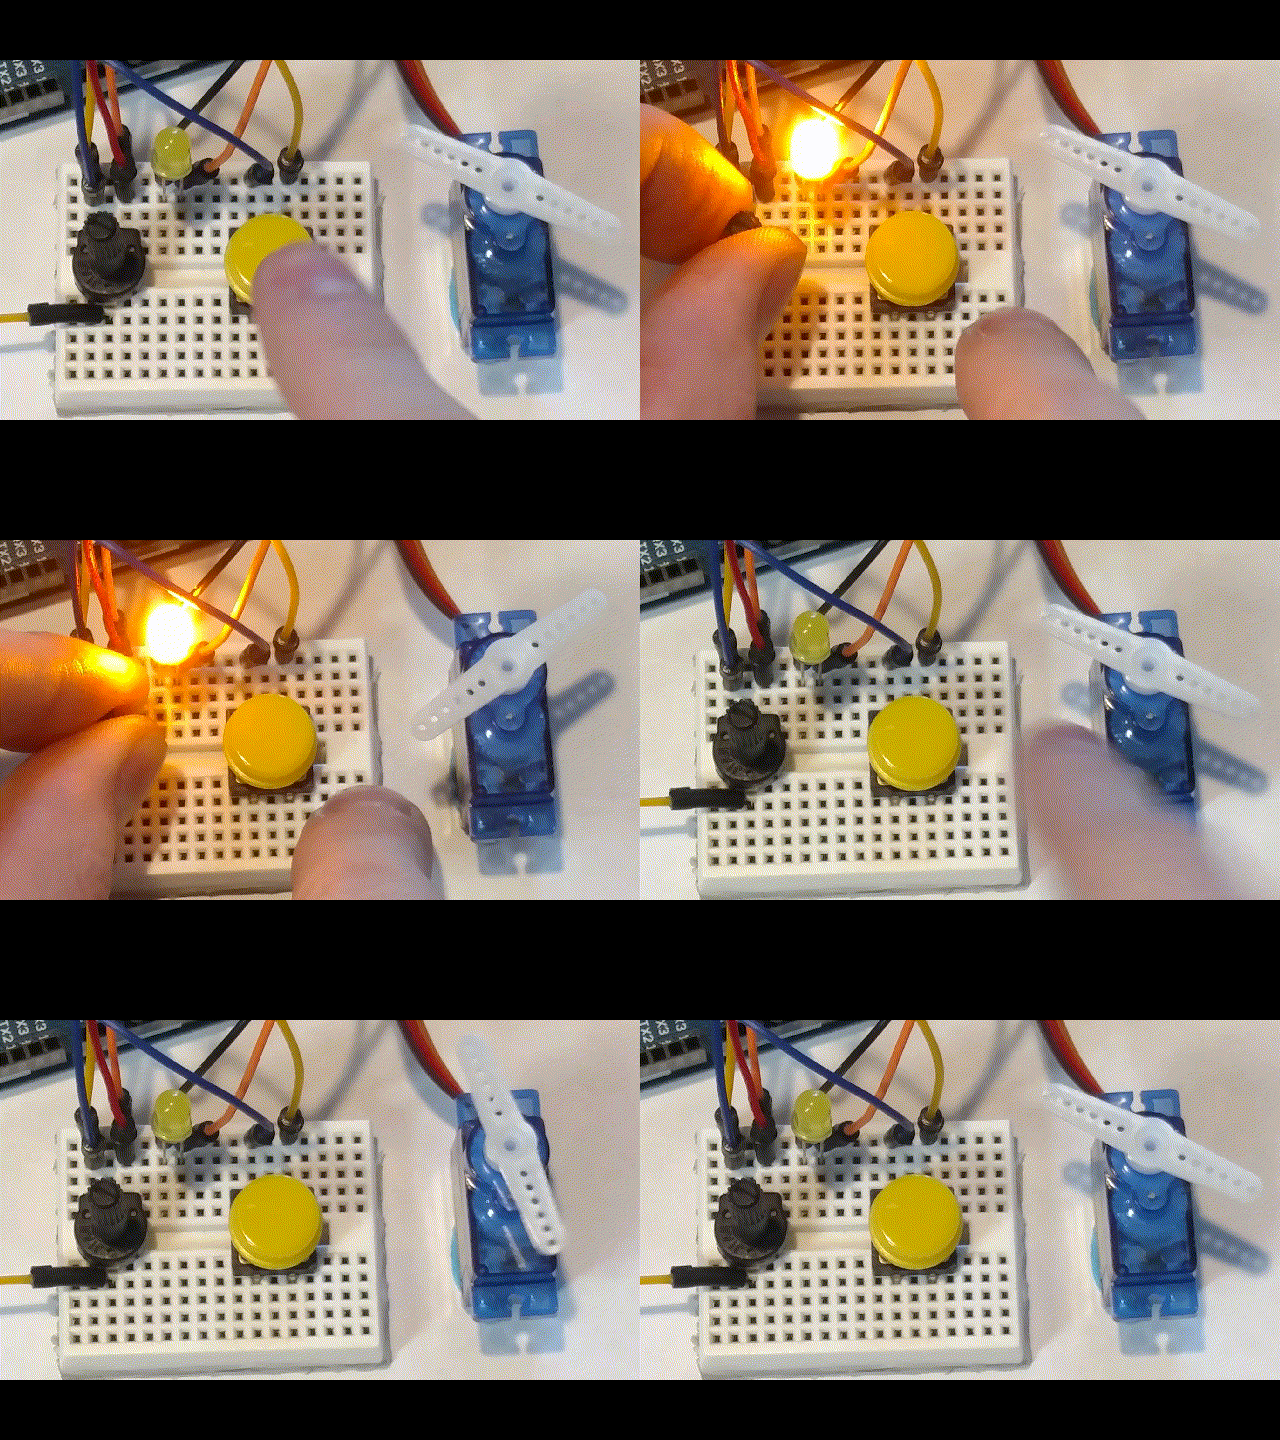
Simple Record and Playback
This project allows you to "record" sensory input and store it for later use. The information is stored in EEPROM instead of dynamic memory so that it can be remembered even when the board is shut down (like a tiny hard drive).
Materials:
- Arduino - https://amzn.to/2DLjxR2
- Breadboard - https://amzn.to/2RYqiSK
- Jumper wires - https://amzn.to/2Q7kiKc
- Button - https://amzn.to/2QUGfN0
- LED - https://amzn.to/2S5PFlM
- Resistor (for LED) - https://amzn.to/2S2sV5R
- 10k Potentiometer - https://amzn.to/2EBuEwq
- Servo Motor - https://amzn.to/2S6E5GZ
Step 1: Make the Circuit
Make the circuit according to the diagram above:
- Potentiometer to pin A0
- Button to pin D2
- Servo to pin D3
- Led to pin D13
Step 2: Upload Code
#include //used to store recorded values
Servo myServo;
float resolution = 1000;//MUST be less than EEPROM.length() (check serial monitor)
float recordTime = 5; //delay time
bool recording = false;
void setup() {
pinMode(13, OUTPUT); //status led
pinMode(2, OUTPUT);
myServo.attach(3);
Serial.begin(9600);
digitalWrite(2, HIGH);
//Serial.println(EEPROM.length());
}
void loop() {
if (recording == true) {//record
for (int i = 1; i <= resolution; i++) {
digitalWrite(13, HIGH); //light status led
int val = map(analogRead(A0), 0, 1023, 0, 180);
EEPROM.write(i, val);
//Serial.println(EEPROM.read(i));
myServo.write(val);
delay(recordTime);
}
digitalWrite(13, LOW); //turn off status led
delay(1000);//give time for person
recording = false;
}
else {
for (int i = 1; i <= resolution; i++) {//playback
if (digitalRead(2) == 0) {//stop playback and record new values
recording = true;
break;
}
int val = map(analogRead(A0), 0, 1023, 0, 180);
int readval = EEPROM.read(i);
myServo.write(readval);
//Serial.println(readval);
delay(recordTime);
}
digitalWrite(13, HIGH); //show a new repeat
delay(100);
digitalWrite(13, LOW);
}
}
Upload this code to your Arduino:
- Note the comment that says //MUST be less than EEPROM.length()
- To find the size of your board's EEPROM storage, uncomment the line //Serial.println(EEPROM.read(i)); This will print the size of EEPROM in the serial monitor, and you can change the value of the noted variable accordingly.
How to Use
To use this circuit, you simply press the button to begin recording and input the desired information through a potentiometer. Now, the board will repeat your actions endlessly (and it blinks an led each iteration) until you press the button again to record new actions. You may also vary the amount of time recorded by changing the values of resolution and recordTime.
Notes
This code uses a ton of memory on the Arduino, so is a solution:
- Instead of a "smooth" recording, you could just have it record one position at a time and have it be more "jumpy."
- Just move the servo to a new position and press a button to keep it.
- Do this until you have all the positions you want.
You could also use a regular integer array instead of EEPROM if you don't need to save information during a power loss.


